|
To initiate the installation of N-Stalker Web Application Security Scanner, follow the procedures below:
| 1. | Double click on N-Stalker Web Application Security Scanner installation package downloaded as per instructions of the previous section; |

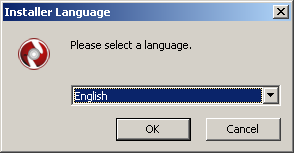
| 2. | Select the preferred language to initiate the installation; |
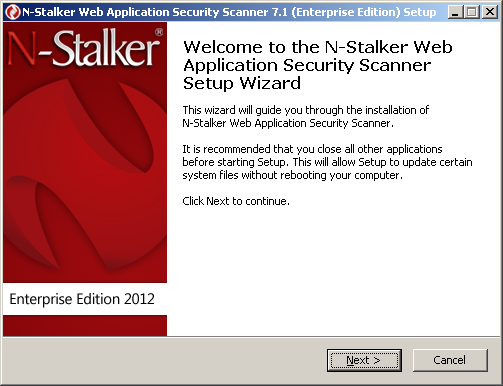
| 3. | Click "Next" to continue |
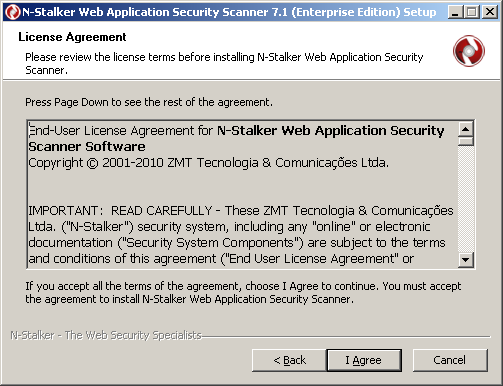
| 4. | Accept the license agreement by pressing “I Agree” button; |
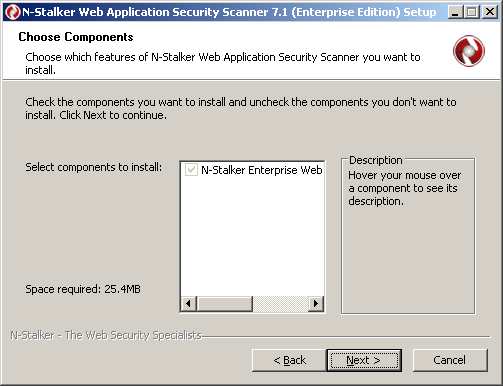
| 5. | Choose appropriate components (default option is a safe choice) and click “Next” button; |
| 6. | Choose destination folder and click “Next” button; |
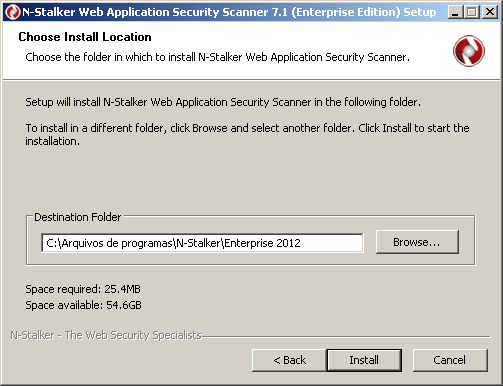
| 7. | N-Stalker Web Application Security Scanner will be installed on the desired folder; |
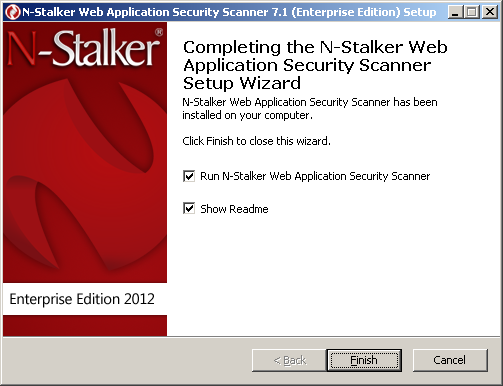
| 8. | To initiate the application, you should either search for N-Stalker icon in your desktop or "N-Stalker Web Application Security Scanner" group in your start menu. |

Once installed, N-Stalker software will require a valid license to be attached. Follow the next sections to obtain assistance on how to attach a valid license to your software installation.
|
